Hey there, future Picasso! Ready to dive into the colorful world of acrylic painting? Awesome! But before you start splashing those vibrant hues onto your canvas, let’s make sure you’ve got the perfect painting space set up. Don’t worry, it’s super easy and I’m here to help you every step of the way. Grab a cup of coffee (or tea, if that’s your thing) and let’s get started!
1. Find Your Creative Corner
First things first, you need a spot to unleash your inner artist. It doesn’t have to be a fancy studio – even a cozy corner in your living room will do.
Look for a place with plenty of natural light; it helps you see colors accurately and keeps your space feeling lively. If natural light is hard to come by, no worries! You can always supplement with a good lamp or overhead lighting.
Trust me, colors look way cooler when you can actually see them properly.
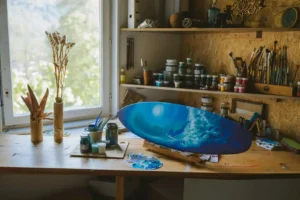
Think about the vibe of the space too – it should be a place where you feel relaxed and inspired, whether that’s a quiet nook in your bedroom or a vibrant area in your living room.
2. Cover Up!
No, not you! Your furniture and floors. Acrylic paint can get a bit messy, and the last thing you want is a Picasso-style splatter on your new rug. Use old newspapers, plastic sheets, or an old tablecloth to protect your surfaces.
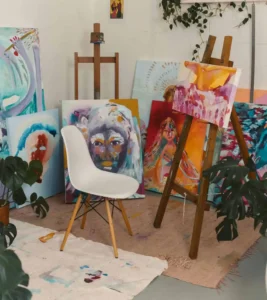
If you’re working on a table, make sure it’s well-covered because acrylic paint dries fast and can be a pain to remove once it’s set.
If you’re painting on the floor, don’t forget to protect that too – nothing ruins the creative flow like worrying about staining your carpet.
You might also consider a dedicated space that you don’t mind messing up. I’ve got this old table that’s seen better days, but now it’s completely dedicated to my art. It’s covered in splatters and smears of paint from all my creative adventures, but honestly, I kind of love it that way. The mess just adds to its charm and tells the story of every painting session I’ve had! Also, less clean-up afterwards 😉
3. The Art Station Essentials: Easel, Table, and Chair
Let’s talk essentials. An easel is a great investment because it allows you to paint at eye level, which is more comfortable and gives you better control over your work. If an easel isn’t in the budget, a sturdy, flat table works just as well. Just make sure the table height is comfortable for you – you don’t want to strain your back bending over it.
Now, about that chair: you might be sitting for a while, so pick one that’s comfortable. Adjustable height and good back support are key, especially if you’re planning on spending hours getting lost in your art.
4. Organize Your Supplies
A well-organized workspace is a happy workspace! Start by gathering all your acrylic painting supplies. You’ll need a range of paints, brushes, a palette, and some water jars.
A cart with wheels is super handy because you can move it around as needed, keeping everything within arm’s reach. If you prefer shelves, just make sure they’re close enough that you don’t have to leave your painting every time you need a new brush or a different color.
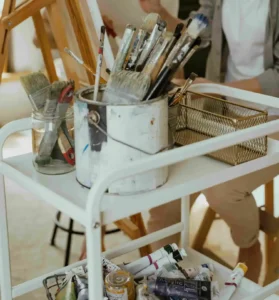
Organizing your supplies also means knowing where everything is when creativity strikes – nothing kills the mood faster than hunting for a tube of paint in a cluttered space.
Here’s a quick breakdown of the must-haves:
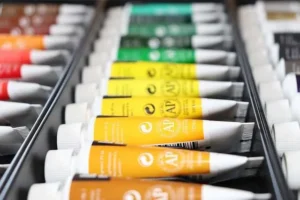
- Acrylic paints: When you’re just starting out with acrylics, it’s tempting to either splurge on a professional-grade set or grab the cheapest paints you can find. But here’s the sweet spot: a solid, student-grade set. These paints are perfect for beginners because they give you good quality without breaking the bank. They usually come in a box with the basics all ready to go, and they’ll last you a good while. As you get more comfortable and start developing your own style, you can gradually add more colors or even start exploring higher-quality paints.
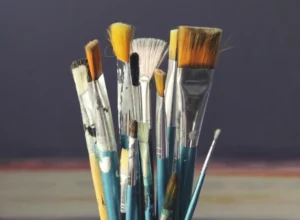
- Brushes: When it comes to brushes, you don’t need to go wild buying every size and shape out there. A simple variety pack with small, medium, and large brushes suffice for starters. Each size has its own use—small brushes for details, medium for general painting, and large for big, bold strokes. Start with just a few and see how they feel as you experiment with different techniques. You can always add more brushes to your collection as you figure out what works best for you.
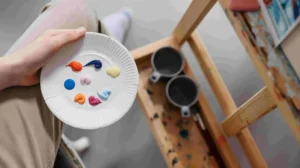
- Palette: This is where you’ll mix your paints. A plastic or glass palette works great because they’re easy to clean. But if you’re in a pinch, even a paper plate will do!
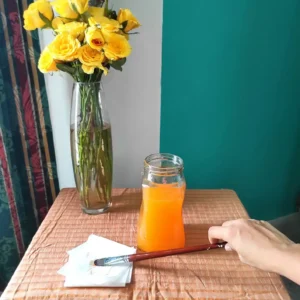
- Water jars: These are crucial for cleaning your brushes between colors. I recommend using two jars – one for the initial rinse and one for a final, cleaner rinse. This helps keep your colors vibrant and untainted by the murky water.
- Paper towels or rags: For wiping brushes and any little oopsies that happen along the way. Keep them close by!
5. Get Your Canvas Ready
Canvases come in all shapes and sizes. As a beginner, it’s a good idea to start with a few smaller canvases—they’re less intimidating and great for practice. You can pick up pre-primed canvases at any art store, so they’re ready to go right out of the package. But if you’re feeling a bit more hands-on, you can grab some gesso and prime your own canvases. It’s a fun way to customize your painting surface and get a feel for how different textures work.
Now, if you’re in the mood to experiment beyond traditional canvases, the sky’s the limit! You can paint on wood panels, cardboard, or even fabric—whatever catches your eye. And hey, if you’re like me, you might even get hooked on painting in a canvas book. It’s like a sketchbook, but with canvas pages that are perfect for acrylics. It’s a cool way to keep all your paintings in one place, almost like an art journal. Plus, it’s portable, so you can take your creative projects with you wherever you go!
6. Light It Up
Lighting can make or break your painting experience, so it’s worth getting it just right.
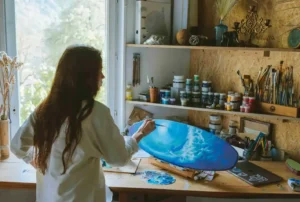
Natural light is ideal—there’s nothing better than letting the sun shine on your work, making those colors look their absolute best. If you’ve got a bright window in your space, use it to your advantage.
But not all of us are daytime painters. If you’re a night owl or just don’t have great natural light, investing in a good quality daylight lamp is a a must-have.
These lamps are designed to mimic natural light, so you can see your colors accurately without straining your eyes. It’s like bringing a bit of sunshine indoors, no matter the time of day. Plus, with the right lighting, you can avoid those annoying shadows that mess with your perception of color and detail.

So whether you’re an early bird or a night owl, make sure your space is well-lit—you’ll thank yourself when you see how much easier it is to bring your ideas to life.
7. Music, Snacks, and Vibes
Set the mood! Create a playlist of your favorite tunes to keep you inspired. Have some snacks and drinks handy – painting can be hungry work! And remember, this is your happy place. Make it cozy, fun, and uniquely you.
Add some personal touches to your space. Hang up some of your favorite artwork, inspirational quotes, or anything that makes you smile. This is your creative sanctuary, so make it a place you love spending time in.
8. Start Painting!
Now that your space is set up, it’s time to let your creativity flow. Don’t worry about making a mess or creating a masterpiece every time. Just have fun and enjoy the process. Remember, every artist started as a beginner, and with each stroke of your brush, you’re getting better and better.
So, there you have it – your very own acrylic painting space ready to rock and roll. Now go on, get those brushes moving and create something amazing. Happy painting, my friend! 🎨✨
