Hey there, fellow artist! If you’re anything like me, you know the importance of keeping your acrylic painting brushes in good shape. A well-maintained brush can be your best friend in creating those beautiful strokes and blending colors just right.
Here are a few tips to guide you on how to clean your brushes effectively, especially if you’re new to acrylic painting.
1. Clean Between Color Changes and Dab on Paper Towel
When you’re switching colors, it’s crucial to clean your brush properly to avoid mixing colors and ending up with muddy results. Here’s what you can do:
First, rinse your brush in a jar or cup of water. Swish it around to loosen the paint. You might need to change the water if it gets too murky.
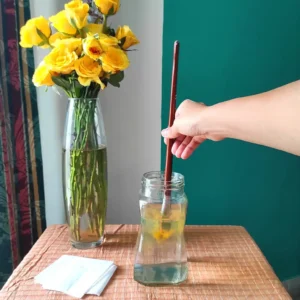
After rinsing, gently squeeze the bristles with your fingers to remove excess water. Then, dab the brush on a tissue or paper towel. This step is essential because it helps to get rid of any remaining paint and water, ensuring your brush is ready for the next color.

Repeat this process every time you change colors, and you’ll keep your colors vibrant and your brush in good condition.
2. Clean More Thoroughly at the End of Your Session
At the end of your painting session, it’s time to give your brushes a more thorough cleaning. When you’re in the zone and painting away, it’s easy to do a quick rinse and think it’s enough. But trust me, taking a few extra minutes to clean them well is worth it.
Start by rinsing your brushes in water as usual, then gently massage the bristles to remove any paint trapped near the ferrule (the metal part). This deep cleaning ensures all paint residues are removed, preventing them from drying and damaging your brushes.
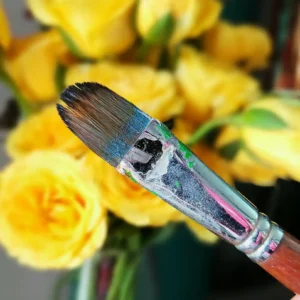
3. Don’t Store Wet Brushes on the Bristles
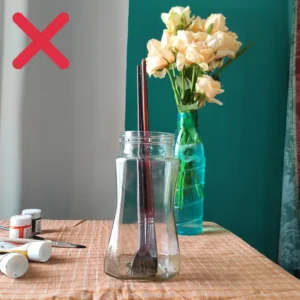
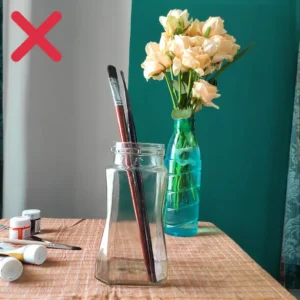
This is a biggie! Never store your brushes with the bristles down, as they’ll bend and dry in that shape, ruining the brush.
Also, avoid storing them upright while they’re wet. When you do this, water and any remaining paint can seep into the ferrule, causing the bristles to become stiff and less flexible over time. This makes the brush harder to use and can eventually render it unusable.
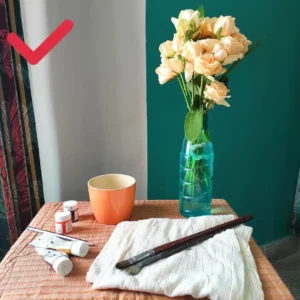
Instead, after cleaning, gently reshape the bristles and lay the brushes flat on a clean surface to dry. This way, they’ll maintain their shape and be ready for your next painting session.
4. Be Gentle with Your Brushes
When it comes to cleaning your brushes, being gentle is key. I avoid using any harsh chemicals or cleaners – plain water usually does the trick. If you do decide to use soap, make sure it’s mild, like a gentle dish soap or brush soap designed for artists. Harsh soaps or cleaning agents can damage the bristles, making them fray or lose their shape.
Gently swirl the brush in water, then massage the bristles to work out the paint. If needed, use a bit of soap, but always rinse thoroughly to remove any soap residue.
Being gentle with your brushes during cleaning will help them last longer and perform better.
5. Mistakes Are Okay
Don’t beat yourself up if you accidentally ruin a brush. It happens to all of us! The good news is that even ‘ruined’ brushes can find new purposes.
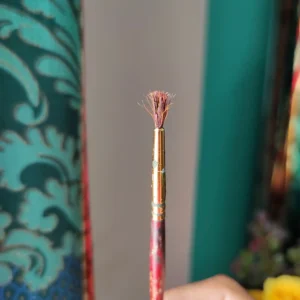
For example, I’ve discovered that my frayed brushes are excellent for painting distant foliage or adding interesting textures to my artwork. Sometimes, a brush that’s no longer perfect for fine details can become a fantastic tool for other techniques.
Embrace these happy accidents and experiment with your ‘ruined’ brushes. You might be surprised at the creative possibilities they offer.
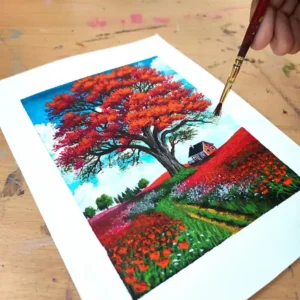
Remember, keeping your brushes clean and well-maintained will enhance your painting experience.
Happy painting!

Pingback: Common Mistakes to Avoid as an Acrylic Painting Beginner – Yvie Marie Art
Pingback: Answering 20 Common Questions About Acrylic Painting – Yvie Marie Art